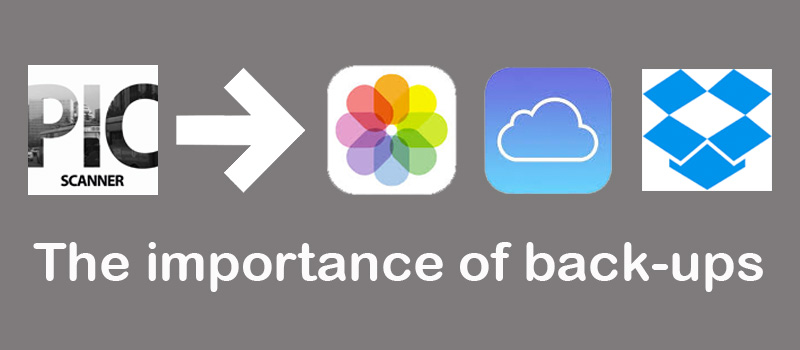
Why archive scanned photos?
Scanning makes photos portable and shareable, but it’s only the first step in keeping them safe. Computers, mobile devices and hard drives can malfunction – so it’s essential that you have a back up of your important photos and documents in a second (and maybe a third) location.
This post explains how to archive and back up photos you have scanned with Pic Scanner Gold or Pic Scanner. Even if you don’t use these apps yet, do read on: These tips apply to other apps, too.
Photos scanned with Pic Scanner are stored within the app on your iPhone or iPad. They are never uploaded to our server. They are not transferred to any external location, until you yourself do it. This gives you full control over your photos and privacy. However, it also means that backing up the photos is absolutely vital.
Where to back up scanned photos?
iCloud is a great place to archive and back up scanned photos. It will keep them safe if your iPhone or iPad is lost or damaged, or you accidentally delete the photos or the app from your device. You can also use other free cloud services, such as Google Photos and Dropbox.
Many users prefer physical storage, such as external drives, thumb drives, NAS or SD cards. These are fine, too, as long as you keep these safe from the elements – heat, moisture, fire etc.
How to back up scanned photos (and albums)
This is quite straightforward and fast, so you should do this every time you scan or edit photos, create albums or add captions. You may also choose to do this periodically.
Backup to your Mac or in iCloud
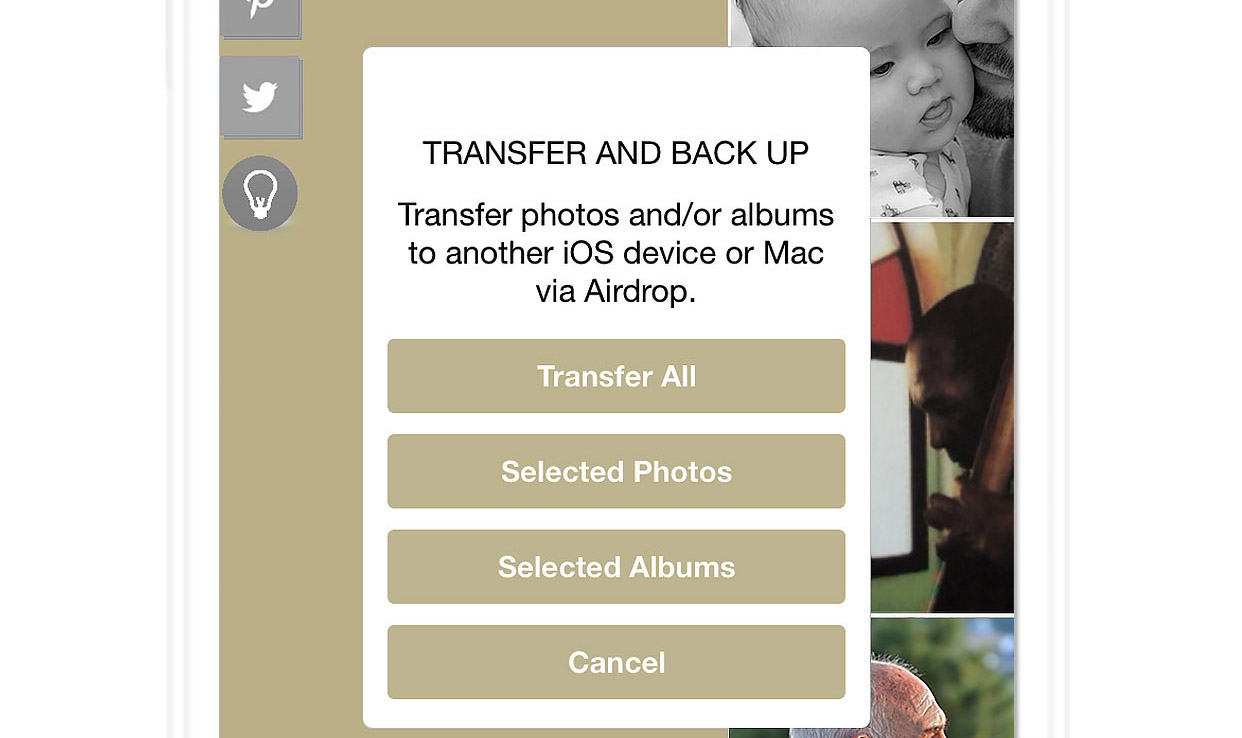
Enable Airdrop on your iPhone/iPad and Mac, and ensure they are on the same wi-fi network. In Pic Scanner / Gold, tap Menu > Backup. Choose Transfer to Mac. From export options, select Airdrop > Mac (To save to iCloud, choose Save to Files > iCloud Drive). A zip file will be saved on your Mac desktop or in iCloud. Unzip it, and your photos will be in splitted_images folder.
Backup to PC or other cloud apps
If you have a PC or an older Mac that doesn’t support Airdrop, tap Menu > Backup. Again choose Transfer to Mac (That’s OK, go ahead and do it) > From export options, select Dropbox or Save to Files (within the latter, you’ll find other cloud apps that you’ve got on your device). Once photos are in these cloud apps, you can access them on any computer.
Another way to do it is to go to Gallery (in Pic Scanner Gold) or Cropped screen (in Pic Scanner), tap Select > choose photos > Export > select Photos (Camera roll) [in iOS 13.1.3 and later, it’ll show as ‘Save X photos’]. This will save the photos to your device’s Camera Roll, and if you’ve got iCloud / Photostream enabled, they’ll also sync to Photos app on your older Mac.
There are other methods, too.
If, for any reason, the above methods don’t suit you, don’t worry. Both apps also offer other ways to back up scanned photos. Email us with details of your situation, and we will assist you.
Have questions? Check out our comprehensive FAQs or email us!