When using Pic Scanner or Pic Scanner Gold, the scan resolution can vary depending on how you do it. Here are a few easy scanning tips for getting high-quality scans:
(Although the screen shots below are from Pic Scanner, these tips also apply to Pic Scanner Gold).
To begin with, know that iPhone 6s, 7, 8,X and 11, and most iPad Pro models have 12 MP cameras. iPhone 5/6 and iPad Air 2 have 8 MP, and older models only have 5 MP or less. Scan resolution will obviously depend on the iPhone/iPad model and camera.
If you have an iPhone as well as iPad, scan with iPhone. An iPhone generally has a better camera than a similar-vintage iPad. iPad is bulkier, making it harder to hold steady and avoid camera shake. Some users also find it less intuitive to center an iPad over photos. If you have bought our app on e.g. iPad, you can also download it on iPhone without paying again.
1) Use High Resolution mode:
For Pic Scanner Gold users: Tap Menu > Info & Settings > Quality Control, and ensure that High Resolution mode is set to ON.
2) Scan 1-2 photos at a time:
Our apps speed up scanning by letting you scan multiple photos simultaneously. The examples below show how to scan two or four photos:
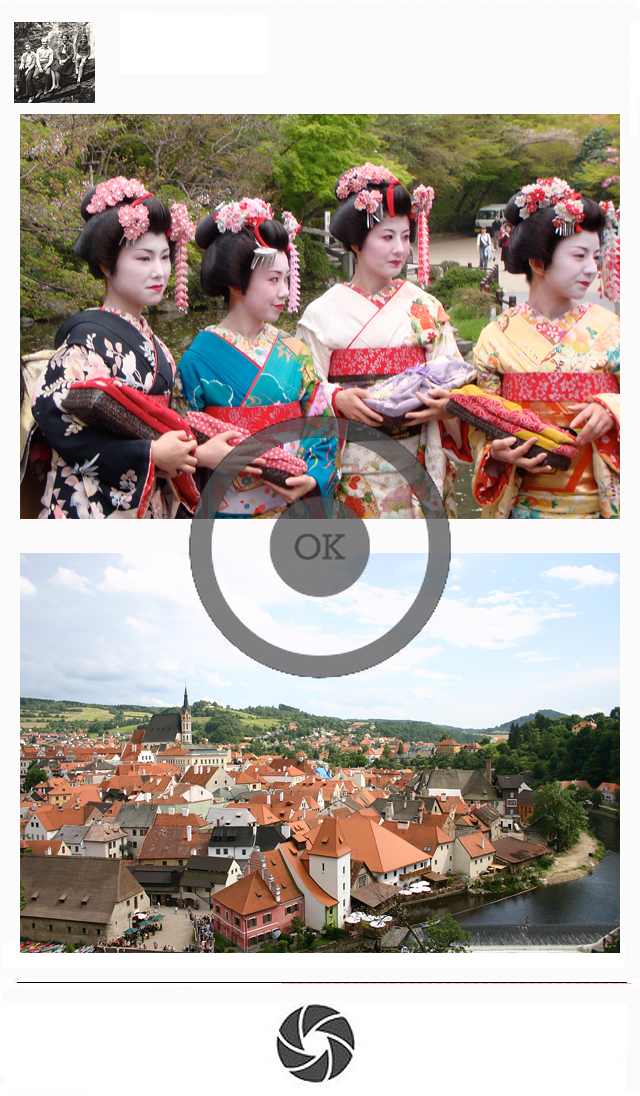
Scanning four at a time is obviously faster than scanning two, but it halves the scan resolution. The more photos you squeeze into each scan, the fewer pixels you’ll get in each cropped photo. So if you plan to archive or make reprints, scan one or two photos at a time. For quick sharing on Facebook, scanning 3-4 may be OK.
Of course, if you have a newer iPhone or iPad with 12 MP camera, scans will be great even when you scan four at a time!
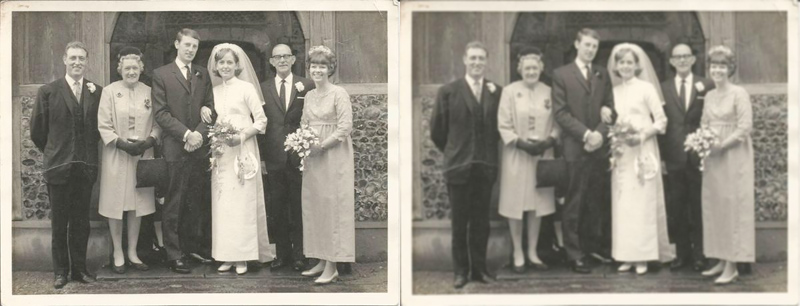
3) Ensure good lighting:
iPhone and iPad cameras aren’t so great in low-light conditions. Photos taken in poor light may, therefore, look dull and grainy. That’s why we suggest scanning in daytime.
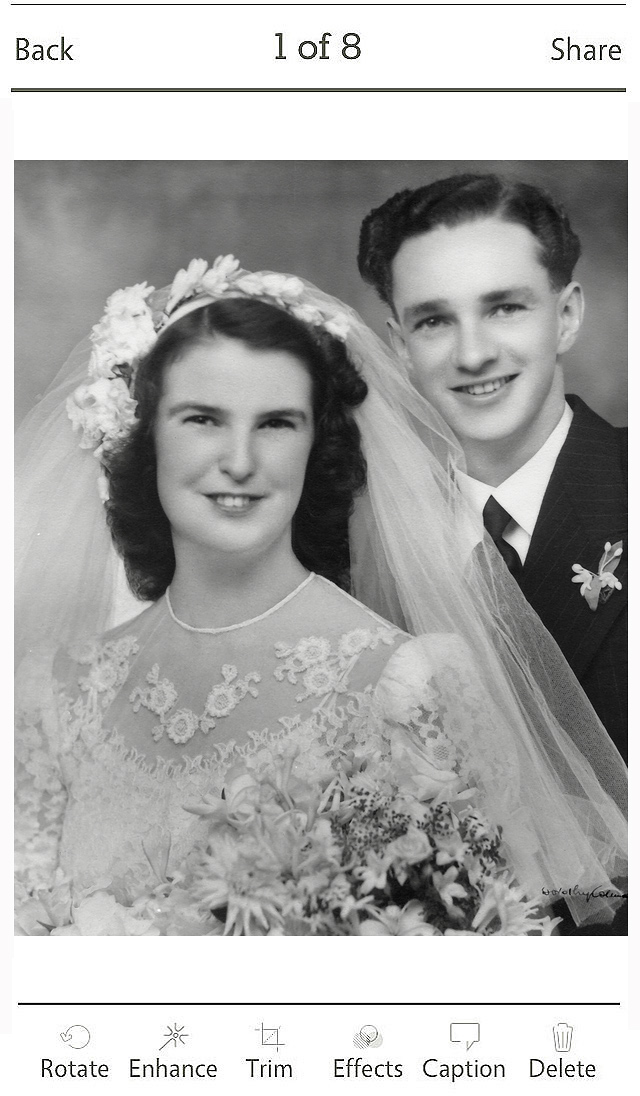
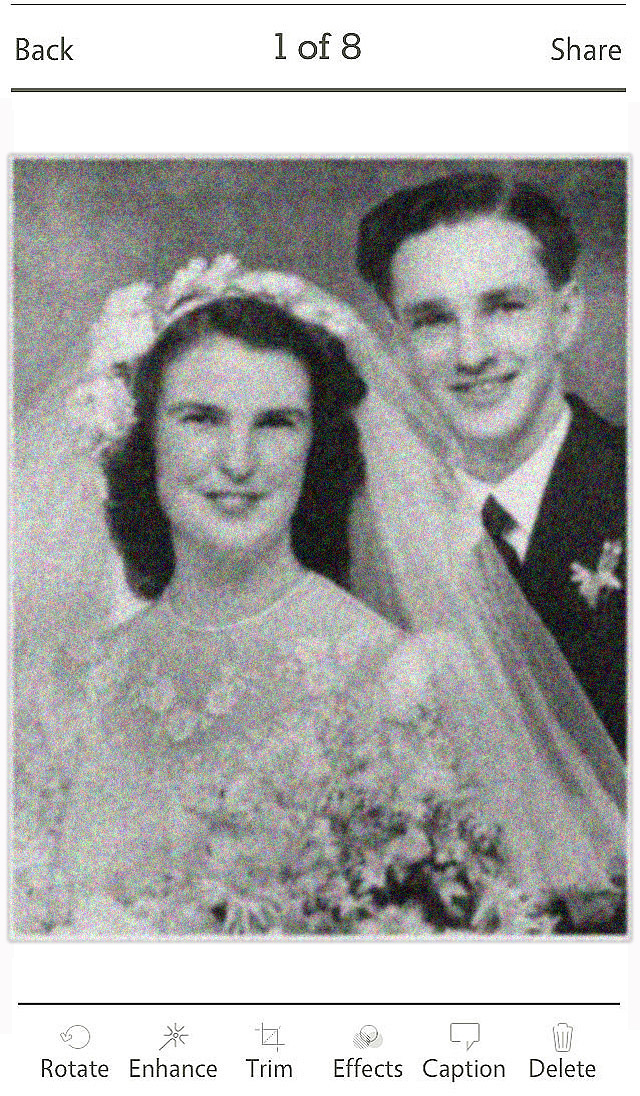
Can you tell which of the above scans was done by daylight and which in poor light? (So if you’ve just downloaded the app and it’s nighttime, now isn’t the ideal time to put it to test;)!
Scan near a window to get indirect light and no glare. Scanning under electric light is OK, but it makes it harder to capture colors faithfully (They’ll look different depending on whether you use yellow light or fluorescent white light), and also causes glare and reflections.
More than anything else, the scan resolution depends on HOW you scan.
4) Camera distance:
When you scan with iPhone or iPad, the captured image contains your photos and some (white or plain) background. Pic Scanner detects, crops out and saves the photos and discards the background. This is how auto-cropping works.
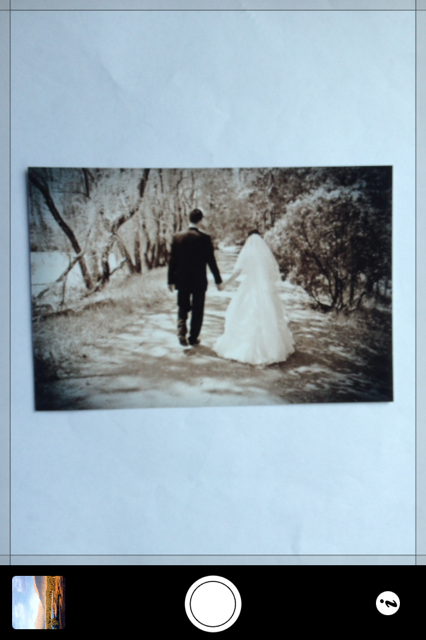
Now let’s see three examples that illustrate right and wrong ways to scan:
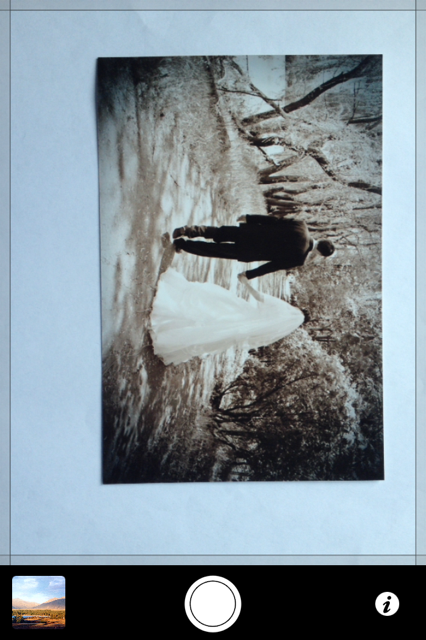
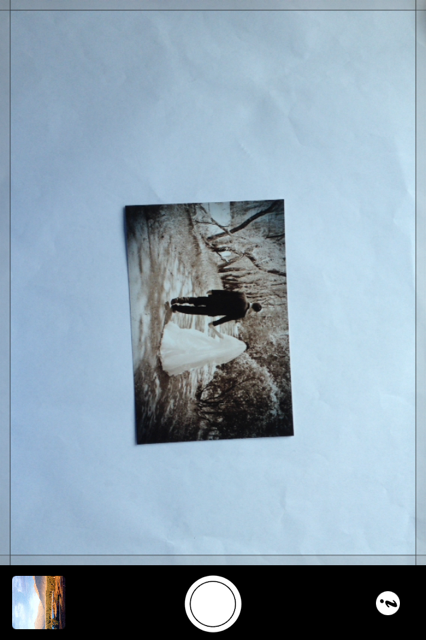
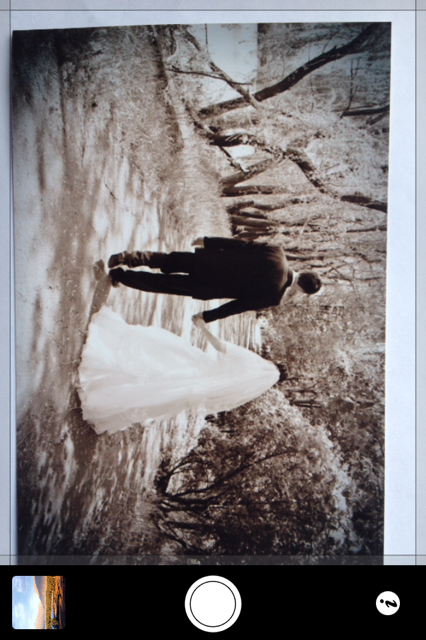
In photo #2, the camera is too far. Too much background; too little photo. So, while cropping will be correct, most of your megapixels will be discarded and you’ll get a low resolution scan. Conversely, if the camera is too close and the photo extends beyond the scanner frame (Photo #3), photo will be cropped inaccurately. Photo #1 is the correct way to scan.
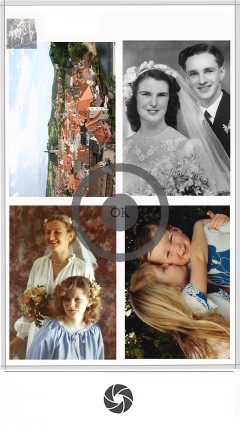
5) Arranging photos:
When scanning photos, arrange them as shown below so as to minimize the white background:
![image[6]](http://appinitio.com/picscanner/blog/wp-content/uploads/2014/08/image6.png)

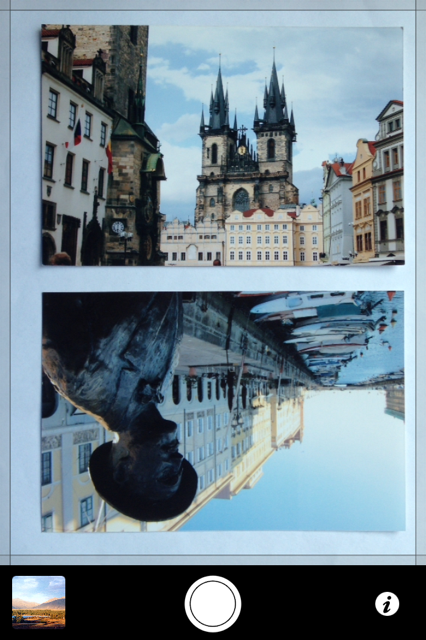
In the above examples, #1 and #3 contain too much white space and will result in lower resolution scans. Examples #2 and #4 minimize white space, and are better.
6) Tap to focus:
After positioning the camera over the photos, tap the screen ONCE to focus it. Tap the scanner shutter only after the picture is focused well.
For tips on how to get accurate cropping, click here. More tips on other topics in our 5-Minute Guide. Experiment until it looks good, then scan away!