How to hang framed photos?
So you finally framed your nostalgia-filled family photos. Now all that’s left to do is put them on the wall, but you have zero confidence in your ability to hang framed photos straight? Don’t worry, let us show you a real easy way to do it perfectly.
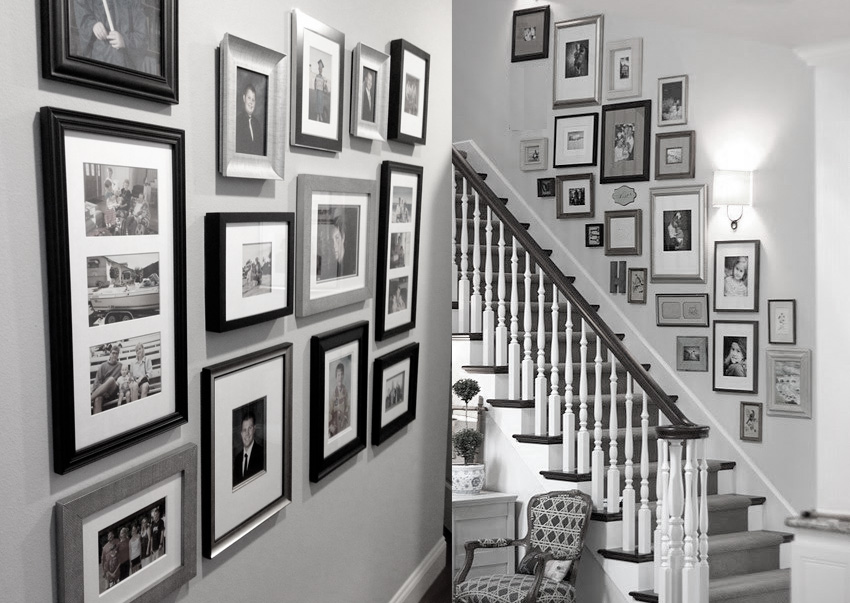
First things first: Decide where to put them up, and how to cluster them. Our Facebook page suggests some aesthetically pleasing ways to group photos, or you could search Google Images for “grouping framed photos”. Center the photos at eye level, say 5 feet above the floor. If they are in a seating area, keep the frames’ bottom edges 6-8 inches above the furniture.
Next, spread brown paper (or newspapers) on the floor, and arrange your frames on it exactly as you want them to go on the wall. With a pencil, trace out the frames’ outlines. Now remove the frames, and draw a horizontal line representing the center of your grouping of frames.
Now position this guide sheet on the wall, make the center line exactly horizontal with a spirit level, and tape the paper in position on the wall (Did you know your iPhone and iPad have a spirit level within the Compass app? If not, see this.)
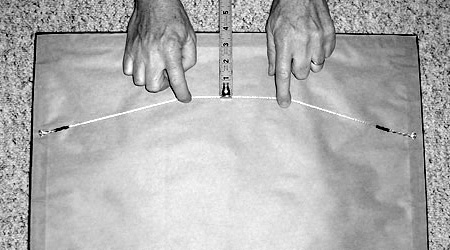
Cut a length of painters tape equal to the width of each frame. If the frames have brackets at the back, run the tape over them and stick it across the width. If the frames have hanger wire, stretch the wire upwards to determine the point where it will hang, then run the tape over it and stick it across the frame’s width. Mark the tape where the screws should go. Remove the tape lengths from the frames, and paste them along the top edges of the corresponding frame outlines on the sheet on the wall.

(Photos: http://www.todayshomeowner.com)
Measure down from the marks on the painter’s tape to the points where the screws should be driven, and mark the exact spots with pencil. Drive in the screws, and then remove the paper. That’s it – sou are all set to put up your frames and enjoy them.
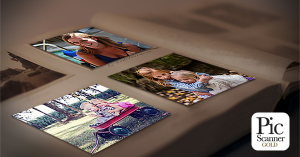
Important: Never frame original prints. Unless you use museum quality, UV proof glass, framed photos will fade over time. To avoid damaging your precious, irreplaceable photos, scan them. Make reprints for framing, and archive the originals as explained here.
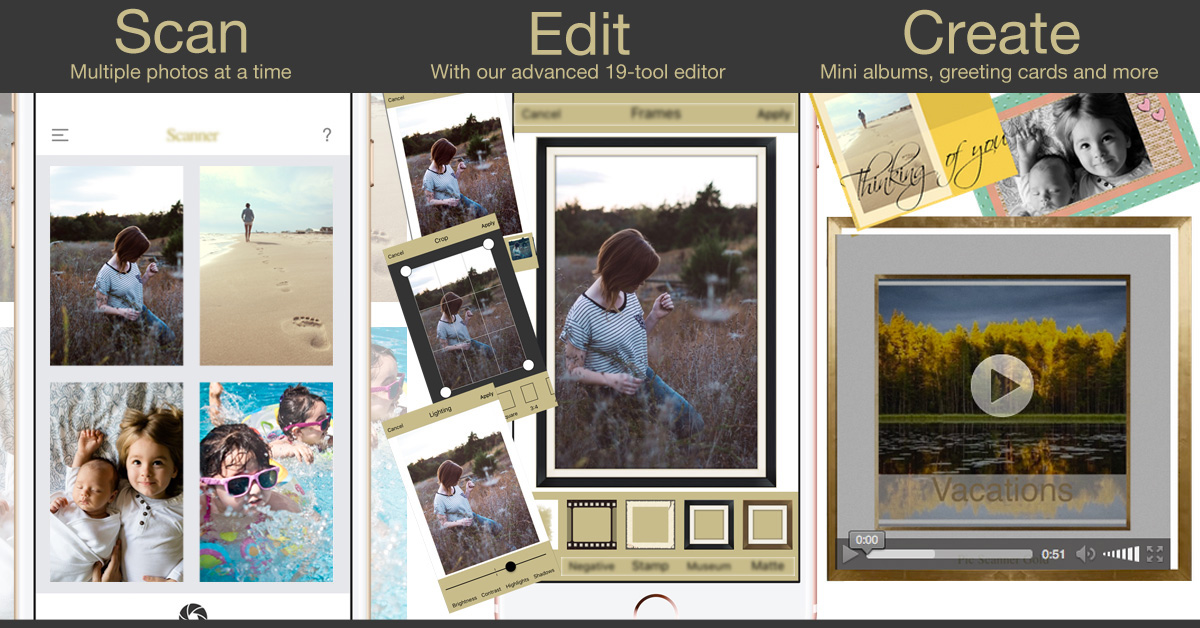
To scan photos, you should check out PIC SCANNER GOLD app for iPhone and iPad. It is probably the easiest and fastest DIY way to scan photos (You don’t even need to remove them from albums). The app includes powerful editing tools to enhance fading photos. It lets you create beautiful albums, slideshows and greeting cards with photos. Another great feature is the ability to add dates, places names etc. to photos. It costs $4.99 for unlimited use – fantastic value. Download it on the App Store.