
Do you sometimes feel like you’re drowning in a flood of photos? Digital albums can be your life raft. Organizing already-digital photos is easy: Photos for Mac, Flickr, Google Photos and other such apps can automatically sort them by date, place, event and so on. But it’s a bit harder for scanned photos, because they don’t contain the right “metadata“.
If you want to add or edit metadata, you can do it with SnipTag app for Mac. But a quick and easy way to organize photos is with our photo scanner apps, Pic Scanner and Pic Scanner Gold.
Why create digital albums?
After scanning and editing printed photos, you should create digital albums to organize those memories. This is desirable for a couple of reasons:
- If you have a large number of photos, putting them in albums makes them easier to find. You could group them logically – by event (e.g. wedding, graduation, Japan trip etc.) or by year or decade (e.g. 1970s)
- You can put the same digital photo into multiple albums, e.g. the same photo could be in “Parents’ Wedding” and “1960s” album. Putting photos in multiple albums doesn’t take up extra space on your iPhone or iPad.
How to do it?
It is really easy. You can create an album literally in minutes. Here’s how:
1) Go to “Cropped” Screen
Pic Scanner saves scanned photos on Cropped screen. To go to it, tap the thumbnail on top left of Camera screen. You will see thumbnails of scanned photos (In Pic Scanner Gold, it’s called Gallery, and you can access it directly from the Home screen):
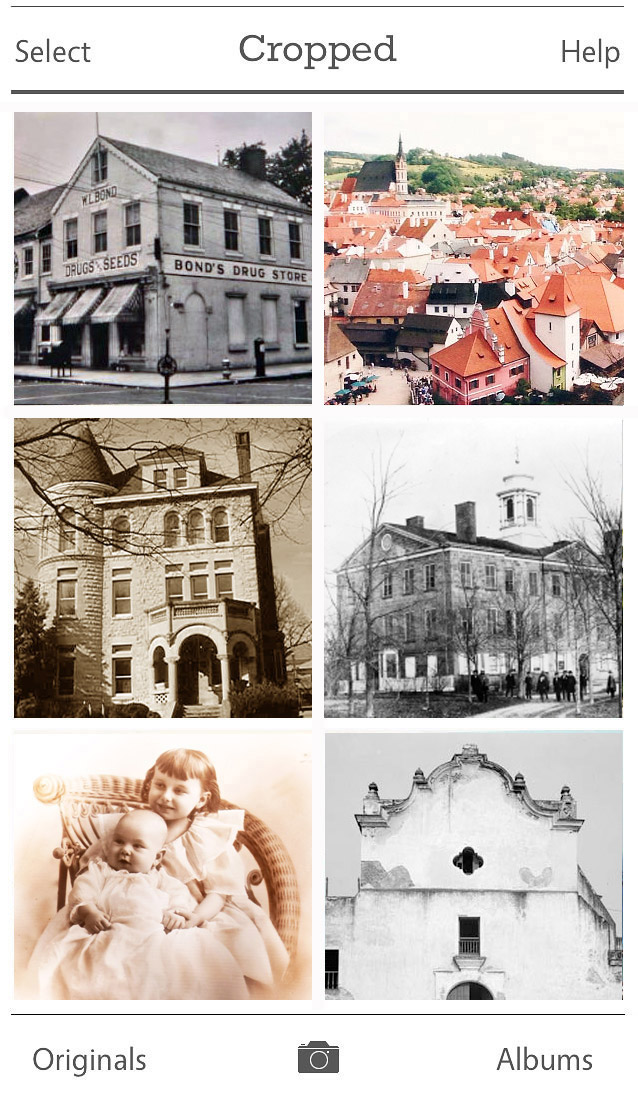
Tapping on any thumbnail opens the full-sized photo on View & Edit screen. Here, you can edit the photo and add captions i.e. “when, where, who” details. This is how it looks in Pic Scanner (Similar in Pic Scanner Gold, but with more editing tools):
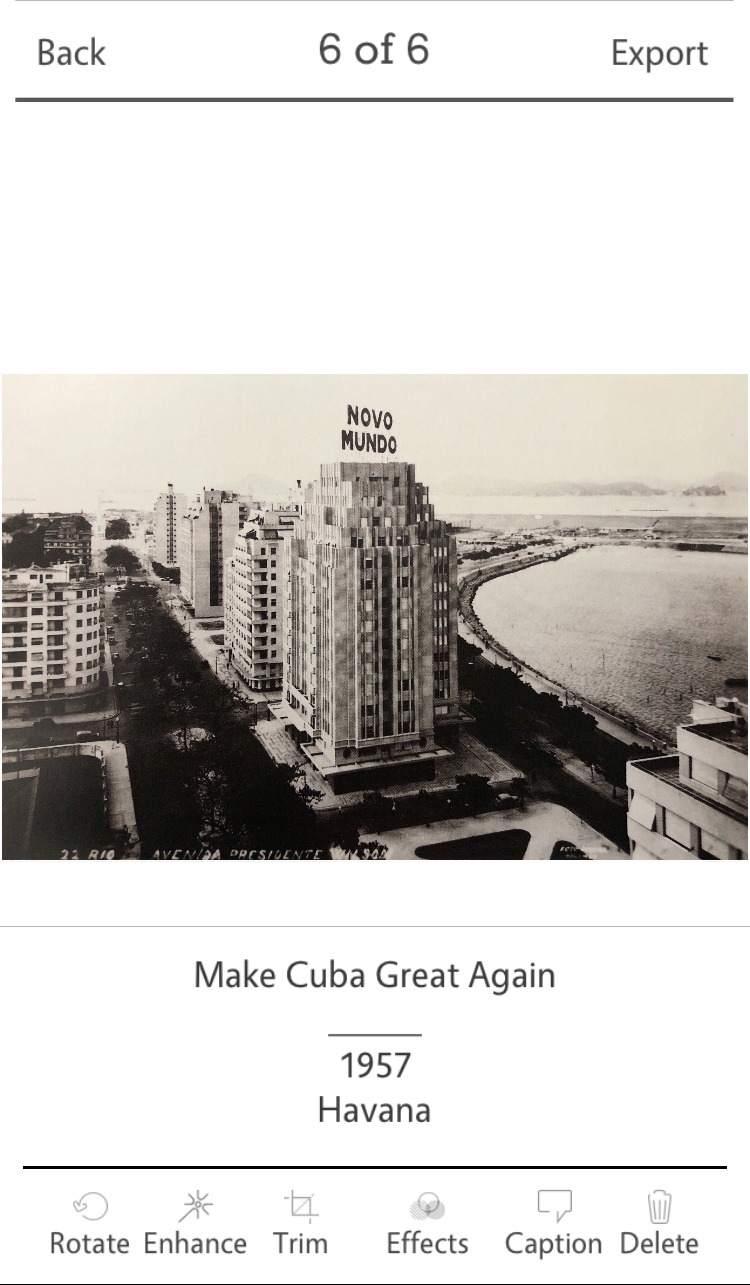
After you’re done editing, return to Cropped (or Gallery) screen to create digital albums.
2) Create New Album:
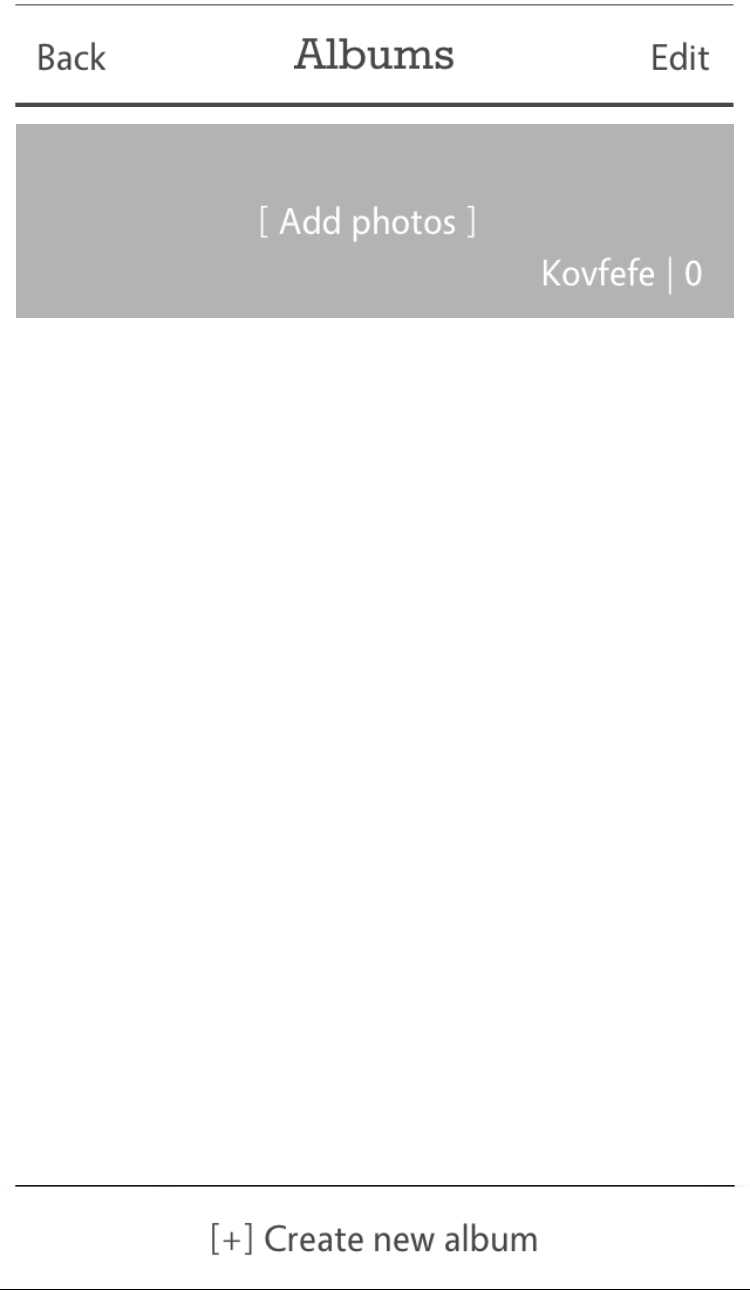
Tap Albums button on bottom right. If this is your first album, you will see a message “No albums yet”.
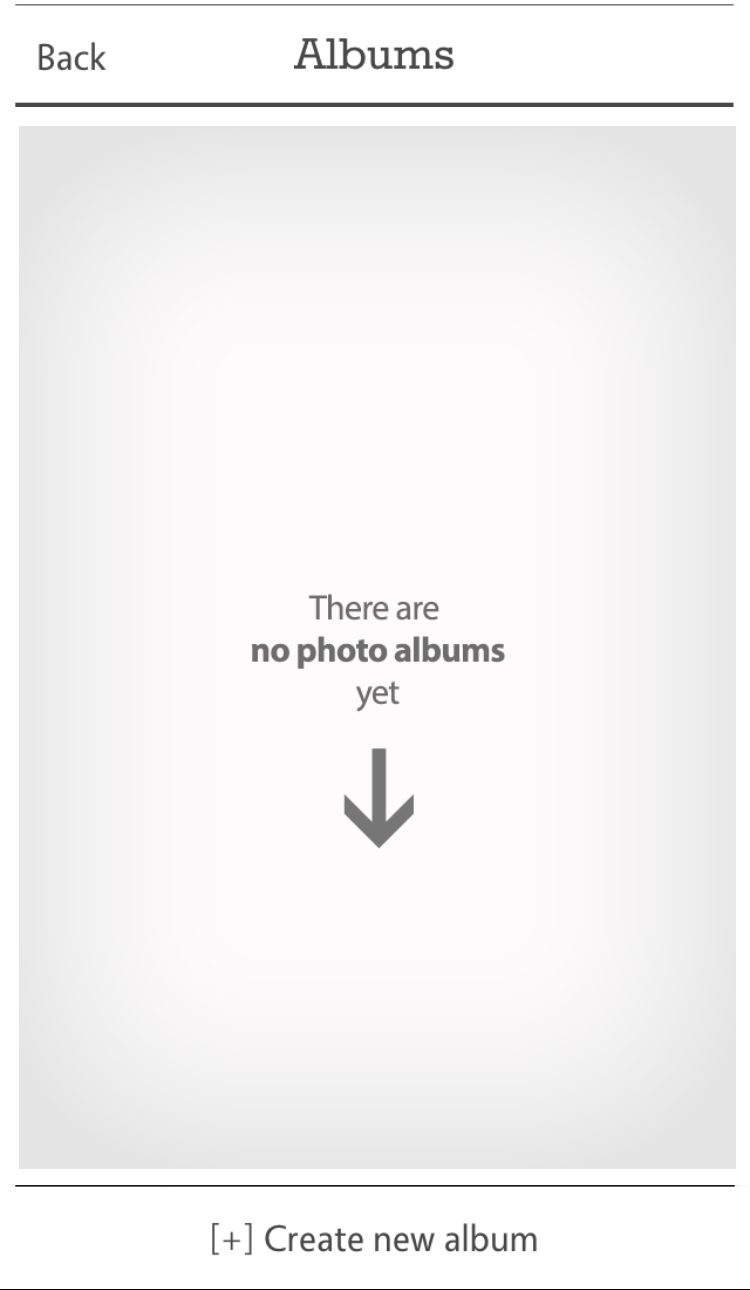
Tap Create new album. In the pop-up box that opens, type in new album’s name and press Save. You’ll see the Albums screen, with the album you just created (As yet empty):
3) Add Photos to New Album
Tap the grey tile representing the album you just created. Then tap Add Photos > Cropped (tile on top of the screen):

Select photos that you want added to the album by tapping their thumbnails. When finished, tap Done. That’s it! Your album is ready:

Note that photos are displayed in the album in the same order in which you tapped them (Our advanced app Pic Scanner Gold lets you rearrange photos within albums, but this feature is not available in PicScanner.)
The photos appear in the Cropped gallery as well as the album. If you wish, you can add the same photo to multiple albums.
Deleting a photo from an album only deletes it from that album. Deleting it from Cropped gallery deletes it from all albums.
4) Add Photos to Existing Album
If you decide to add a few more pictures to an album, it’s also easy. Go to Cropped screen, tap Select > Choose the photos > Add > Add to Existing album > tap the appropriate album. That’s it!