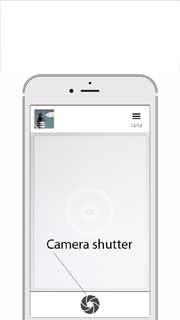
Camera screen is the first screen you see on launching Pic Scanner. Here is an illustrated guide to everything on this screen.
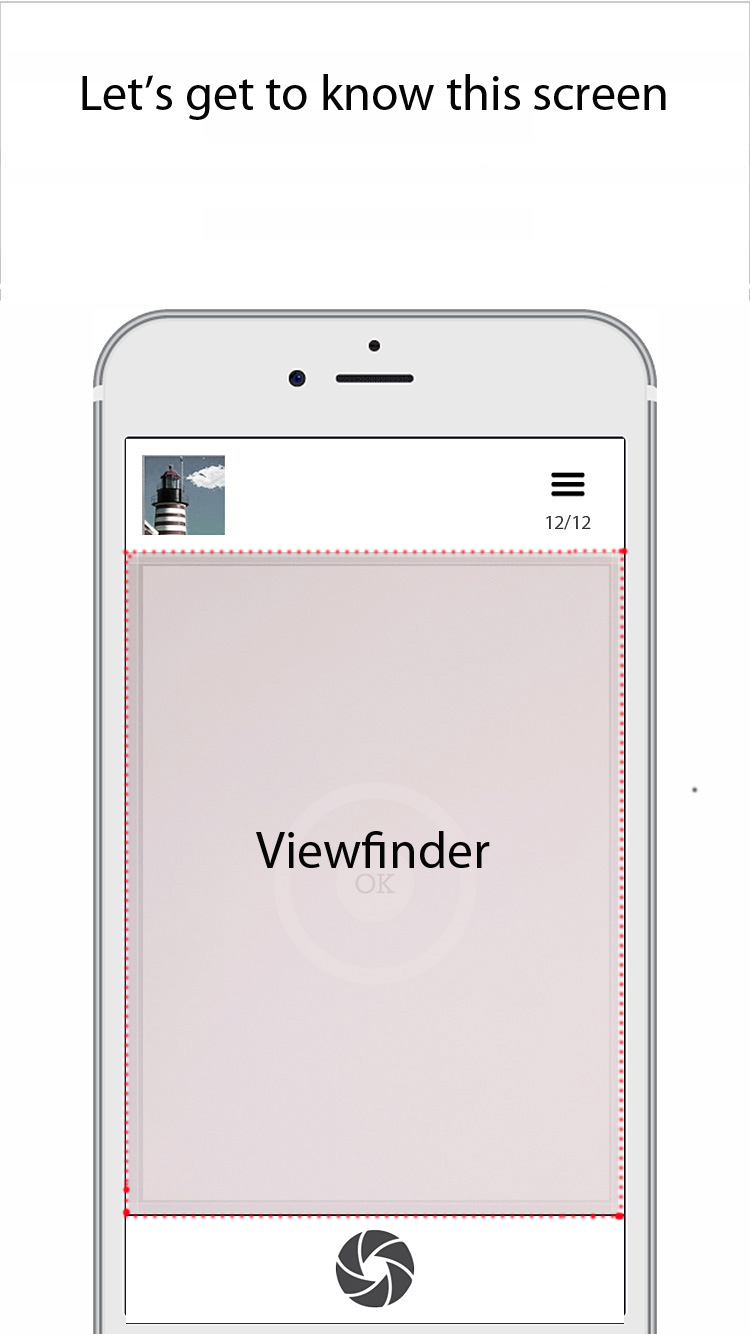

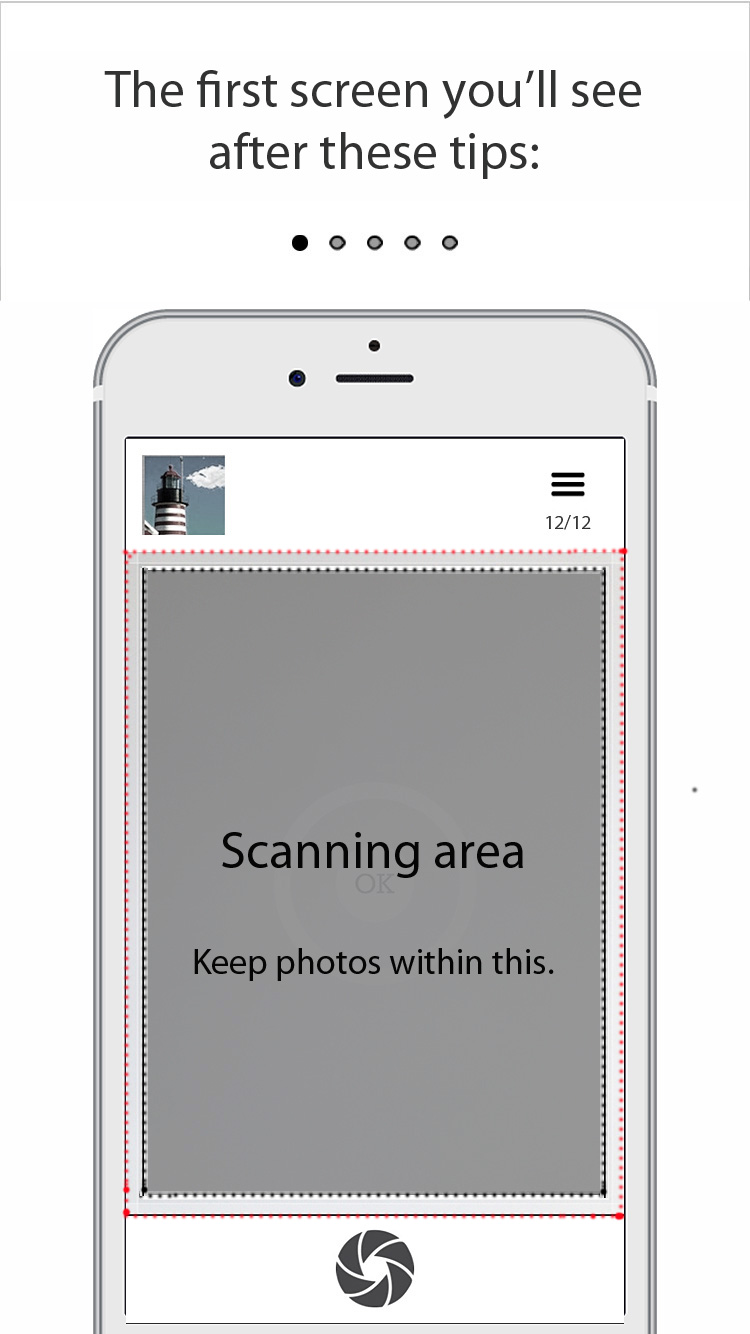
Viewfinder window (marked in red) is the entire area through which you can see the objects lying on the other side.
Just within the edges of the viewfinder window, you will see a translucent frame. This is the scanning area. The photos that you scan must lie fully within this area.
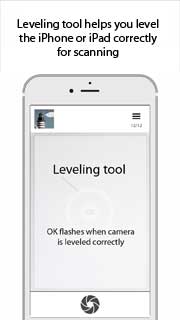

The leveling tool above works just like a spirit level. It helps you make your device horizontal (or parallel to the photos being scanned), which minimizes perspective distortion.
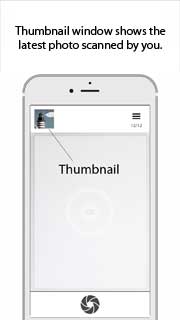
The little square window on top left displays a thumbnail of your last scan. Tapping it takes you to the Cropped gallery, which contains thumbnails of all of your cropped photos.
The three horizontal bars on top right are the Menu button. Tap it when you want to upgrade to the unlimited version of Pic Scanner, access Help (5-Minute Guide and troubleshooting help), watch a slideshow of your scans, modify settings, or contact us.
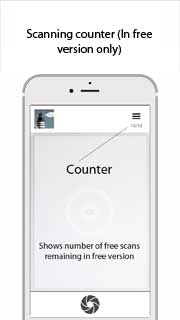
The free version of Pic Scanner has a counter below the Menu button. As you know, the free version allows 12 trial scans. The counter show how many free scans you’ve got left, e.g. 4/12 means you can scan 4 more times. This counter disappears once you purchase the unlimited version.
And finally, the big shutter button at bottom center is what you press to scan photos.
Do check out the other posts on our blog, and if you have any questions or suggestions, email us (As mentioned above, by tapping Menu > Contact us)
